









Start your FREE 30 Day Trial Today!
No credit card required
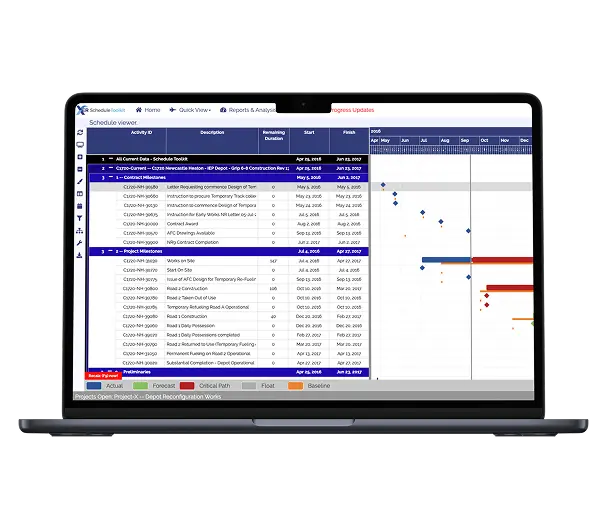
Discover how XER Schedule toolkit allows you to view, analyse and share project schedules with your team, without the requirement for advanced skills or expensive software licences
Visit our Support centre for online tutorials and more information
Frequently Asked questions
Here you’ll find answers to the most common questions about XER Schedule Toolkit
To log in, visit www.xertoolkit.com and click the “Sign In” button in the top-right corner.
Enter your email address and password, then click Sign In to access your XER Online dashboard.
Once logged in, you can begin using all Toolkit features.
Helpful video tutorials are also available under the Help Menu at the top-right of the screen.
XER Schedule Toolkit supports Primavera P6 (XER), Microsoft Project (MPP), and XML file formats.
From the home page, click Import MPP or XER Files.
Select your file from your computer and click Open.
The Toolkit will automatically import and display your project.
If the file includes multiple projects, you can choose which ones to import.
Use the toggle button next to each project to include or exclude it from your analysis (grey = excluded).
When you first log in, you’ll see a Get Started screen unless projects have already been shared with you.
Choose Import Project from P6 or MPP.
Select the file containing your project(s) and click OK.
Your imported projects will now appear in your database.
The Toolkit can analyse multiple projects simultaneously — toggle which ones to include in your current view.
In XER Schedule Toolkit, you can assign baselines just like in Primavera P6.
- Click the paperclip icon next to your live project.
- Choose to import a new project or select one from the existing database.
- Select your baseline file and click Save.
The screen refreshes to show an orange bar below activity bars, indicating a baseline is attached.
You can remove or reassign baselines anytime using the pencil icon and selecting “No Primary Baseline.”
To revise your project with the latest update:
- Click the hamburger menu under Options beside the project.
- Choose Import Latest Version.
- Decide whether to retain or delete the original project.
Select your updated file — the Toolkit will upload and replace it while keeping all shared settings, baselines, and progress data intact.
Alternatively, you can use the Refresh button next to the project to update it directly.
Choose whether to retain or delete the original, then select the new file.
The project will be refreshed instantly, keeping your baselines and share settings.
To remove a project:
- Select the project(s) you wish to delete.
- Click Delete Project.
- Confirm your selection.
If the deleted project has a baseline attached, that baseline will also be removed.
The Share Project feature lets you provide view-only access to your project for other Toolkit users.
You can share with individuals or entire departments by creating Share Teams.
To set up sharing:
- Click the Share button beside your project.
- Enter a team name (e.g., department).
- Add the email addresses of team members.
- Choose whether to share cost and unit data.
- Click OK — the project will appear instantly in your team’s databases.
You can add or remove users anytime, and teams can include any number of members.
Shared users have read-only access with full analytic and visualisation capabilities.